Welding is an art that demands skill, knowledge, and expertise in every aspect. The position of a weld is one of the crucial factors that affect the strength and outlook of the final product. Welders employ various welding positions to get the desired precision.
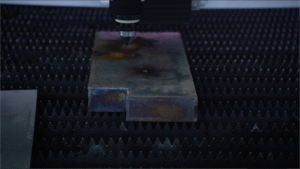
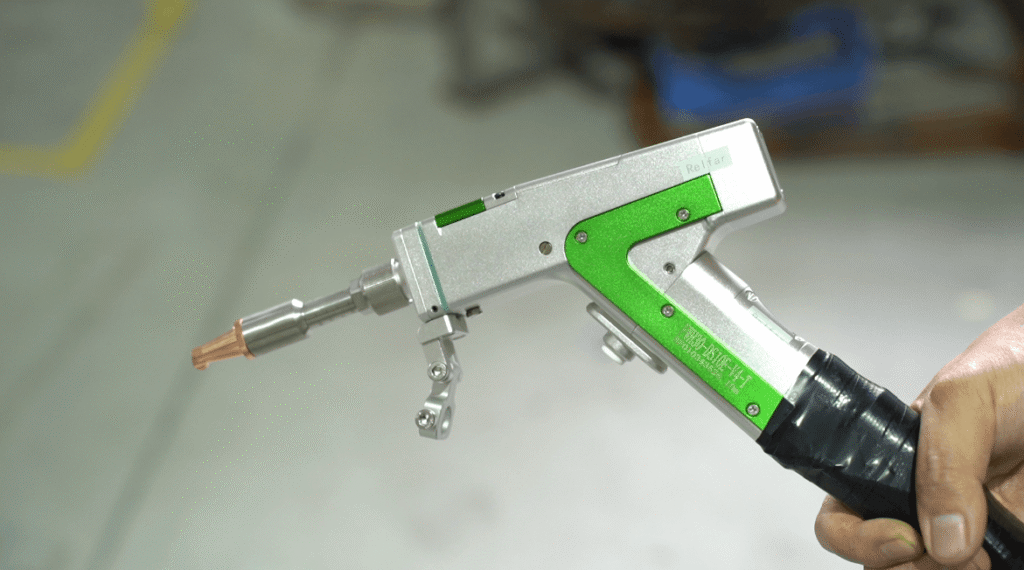
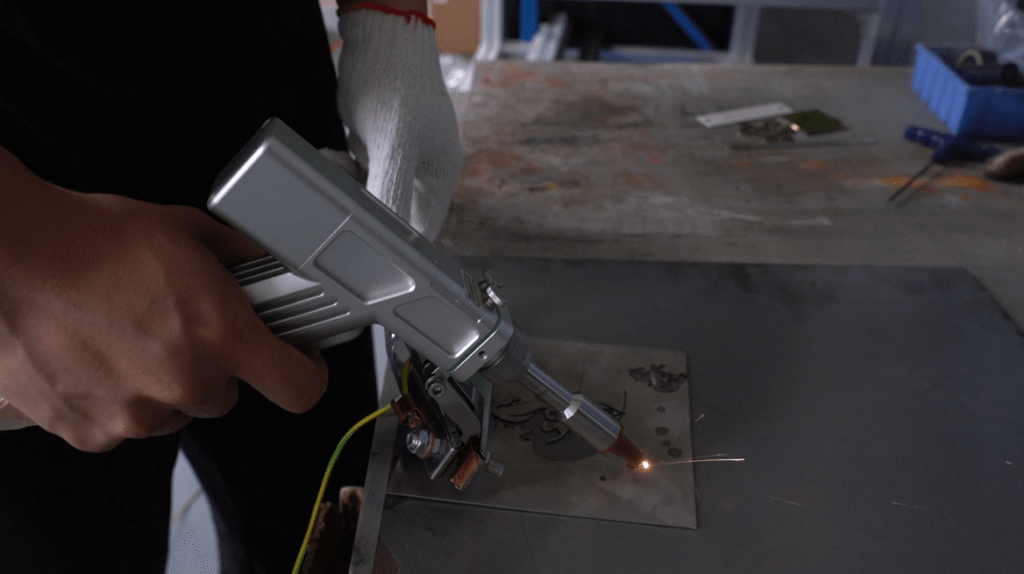
To master practical skills for different welding positions and minimize material waste, efficient pre-treatment and precise wire feeding are crucial. The Baison multi-functional laser welder supports versatile applications, allowing operators to switch to laser cleaning mode with one click to quickly remove rust and oxide layers from grooves before tackling complex welding positions, completely eliminating traditional grinding processes.
During high-frequency swing welding in challenging welding positions such as vertical or overhead welding, Baison’s fully automatic wire feeding system utilizes intelligent torque sensing and adaptive tension adjustment to ensure the wire is smoothly fed into the micro-molten pool at a precise angle, effectively preventing wire jamming and breakage.

This closed-loop control, combining pre-welding cleaning with omnidirectional intelligent wire feeding, not only significantly lowers the operational threshold but also ensures the equipment achieves all-weather, standardized, high-quality welding in any welding position.
In this blog post, we’ll dig into the basics of welding positions. You’ll also explore the significance of welding positions. So, let’s get into it.
Why is Welding Position Important?
Weld position refers to the orientation of the welded workpieces with respect to the position of the welder. The welding position is imperative as it affects the quality and structural integrity of the weld.
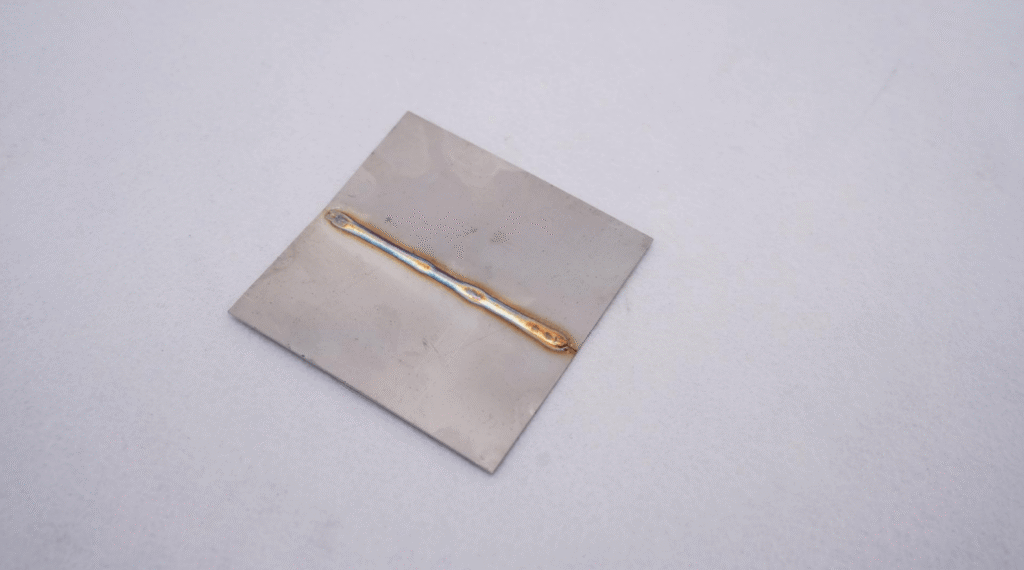
During welding, the filler metal flows downward under the influence of gravity and penetrates the workpiece. Ignoring the position of the weld can lead to insufficient penetration and weak weld joints. The right welding position ensures the molten metal is deposited in the right place, creating a perfect bead profile and leading to effective fusion.
When executing high-frequency swing welding in challenging welding positions such as vertical (3G) or overhead (4G) welding, traditional TIG welding often suffers from molten pool sagging due to gravity, which heavily relies on high operational hours and secondary grinding.
Baison’s handheld laser welder utilizes its intelligent “Novice Mode” and a high-frequency swing torch to dynamically redistribute micro-molten pool energy, enabling operators to handle any welding position with ease.
According to Baison’s processing parameters, when working in complex welding positions, operators can precisely control heat input and achieve micron-level penetration by adjusting the laser power (such as 350W for 1mm carbon steel and 1100W-1500W for 3mm stainless steel) while matching a 3mm scan width with high-frequency pulses.
This digital control tailored for multi-dimensional welding positions not only completely resolves burn-through issues for thin-walled materials in special postures but also achieves a direct “grinding-free” finish post-welding, significantly boosting the overall efficiency of all-position welding.
Overview of Welding Position Categories
Welding position is a significant factor for welding workpieces. For efficient welding, you should be familiar with the welding position categories. The following are the two main categories of welding positions:
I. Plate Welding Position
Plate welding is the welding position where welding is done on a flat or nearly flat surface. It includes the following four welding positions:
- Flat welding position
- Horizontal welding position
- Vertical welding position
- Overhead welding position
II. Pipe Welding Position
Pipe welding is the welding position where the weld is made on a curve or a cylindrical surface. According to the LinkedIn, pipe welding is of the following four welding positions:
- Horizontal Rolled Welding Position
- Vertical Welding Position
- Horizontal Fixed Welding Position
- Inclined Weld Position
6 Types of Welding Positions
Welders employ various welding positions to weld various surfaces. These positions strengthen the welded pieces and create perfect welds.
In standard welding positions, groove welds cover flat (1G), horizontal (2G), vertical (3G), and overhead (4G) welding. Traditional manual welding in 5G and 6G fixed pipe welding positions requires constant posture adjustments to overcome gravity-induced puddle sagging, which easily causes defects.
Baison laser welding equipment, paired with high-precision drive systems, rotary chucks, and reducer-integrated automation tooling, converts high-difficulty manual all-position pipe welding into standardized automated operations.
This digital process optimization for multi-dimensional welding positions allows ordinary operators to achieve results that previously demanded specialized welders, ensuring smooth, consistent seams across all angles while significantly slashing skilled labor costs.
Please note: F stands for fillet weld and G stands for groove weld. The following are the six commonly used welding positions:
1. Flat Position 1F/1G
In a flat position, a welder orients the workpiece on a workbench or flat surface. 1F indicates a flat welding position with a filler weld. White, 1G represents the flat position with a groove weld.
A flat welding position is the most convenient, as you don’t have to worry about the displacement of the weld pool due to gravity. The angle between the tip of the welding torch and the flat surface should be 45 degrees. Moreover, you need to maintain consistent motion and flame orientation to ensure the formation of a perfect weld.
As you deposit the filler material, it distributes itself evenly on the surface. A flat position also offers a greater deposition rate than other welding positions as gravity pulls the hot molten metal downward, filling the joint.
2. Horizontal Position 2F/2G
If the welding axis stays horizontal, the welding position is referred to as horizontal. During the 2F fillet weld, the welded material is deposited on the upper side of vertical and horizontal surfaces. However, in 2G groove weld, the welding is done on the vertical side. In this welding position, the weld is located on the plane.
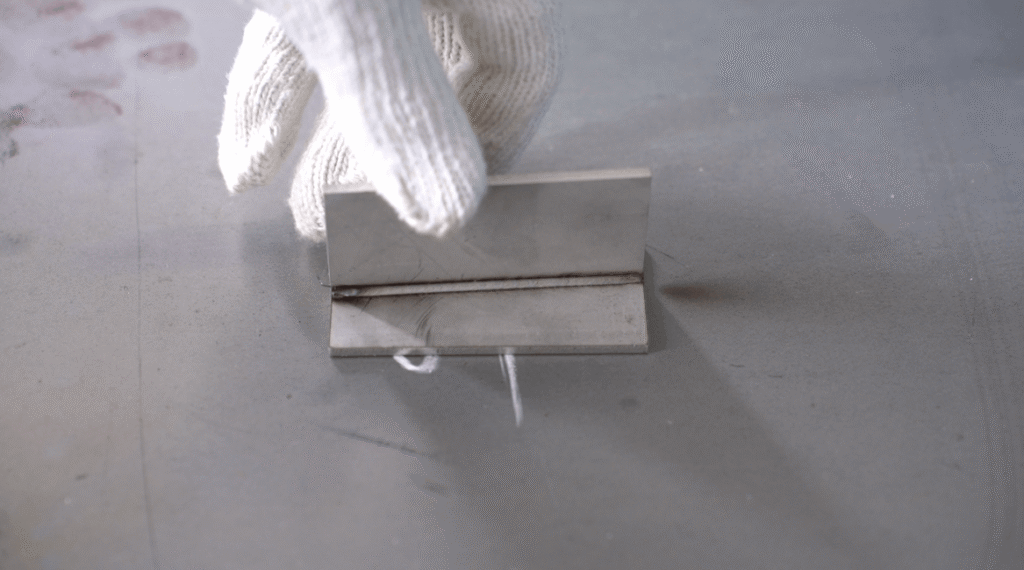
To create a 2F position, keep the welding torch at a 45-degree angle. On the other hand, if you want to make a 2G welding position, your weld torch should be perpendicular to the surface of the workpieces.
2G is more challenging than 2F as you have to deposit the molten metal against gravity. Your molten metal shouldn’t be too hot as it will be challenging to manage and result in weak welds. Horizontal groove welding positions require more practice than fillet welds, as the weld axis is out of position.
We have prepared an article in case you want to learn more about the difference between Flat welding and horizontal welding.
3. Vertical Position 3F/3G
In a vertical position, the orientation of the weld is vertical. The welded material and the workpieces lie perpendicular in this welding position. You can make the weld vertically up or down. For 3F, you need to keep the welding torch at 45-degree. On the other hand, you need to orient the welding torch at 90 degrees for 3G.
Creating a vertical welding position is challenging as you need to place the weld pool against gravity. Handling hot molten metal is a daunting task. You can employ upside-down, zigzag, or triangular motion to deposit the welded metal effectively.
4. Overhead Position 4F/4G
In the overhead welding position, the weld is made on the lower surface of the welded pieces. The angle of the welding torch is 45 degrees for 4F as well as 4G. The molten metal can sag easily, resulting in beads with a higher crown. It is done on fixed workpieces that are unable to move. You need to deposit a small amount of molten metal to avoid crowns.
During a vertical welding position, you need to regulate the flame so the metal gets sufficient time to harden. You can also employ overhead welding with a vertical welding position. However, you should be careful as the molten metal can quickly run down to the front of the weld.
5. 5G Welding Position
The 5G welding position is employed for cylindrical or curved workpieces that are horizontal and can’t be turned. Two techniques are used to create a 5G welding position. One is referred to as 5G uphill, and the other one is 5G downhill.
In the 5G uphill welding position, welding starts from the overhead position and then progresses to the horizontal position. In the end, the welding position becomes flat. In the 5G downhill position, initially, the welding position is flat, then becomes horizontal and finally overhead.

6. 6G Welding Position
The 6G welding position is much like the 5G position. However, the cylindrical surface is inclined at 45 degrees. It involves three positions, including flat, horizontal, and overhead welding positions. This welding position is also challenging as the molten metal moves downward as you deposit it.
5 Tips for Mastering Welding Positions
The following are some tips for improving your welding positions:
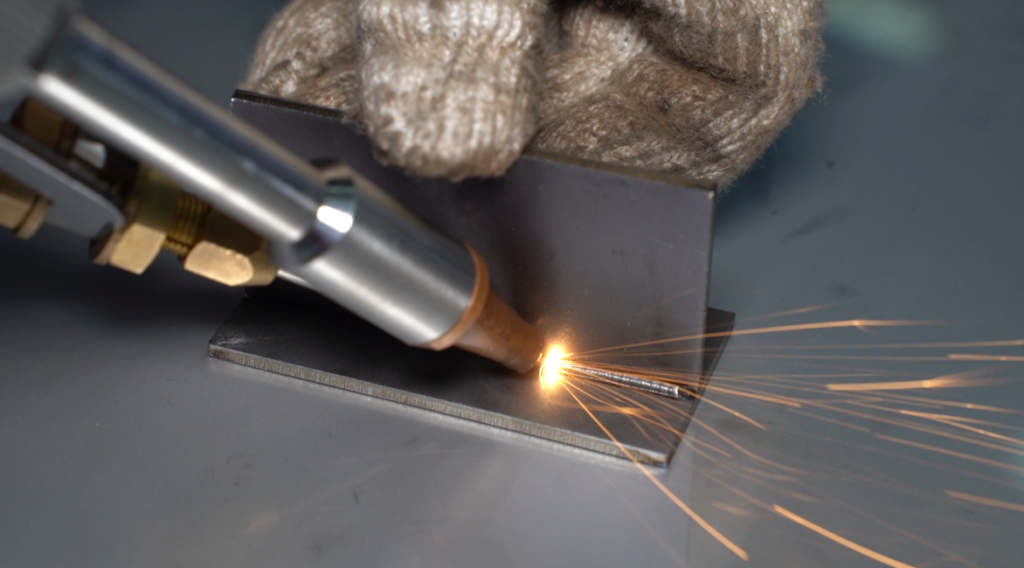
- According to the Welding & Welder, you need to thoroughly remove the debris and dirt from the joint to ensure the perfect weld.
- Select the right welding technique and welding position to achieve strong welds.The choice of filler material also affects the welding positions. Choose the filler that works well with a particular position.
- Maintain the right angle between the welding torch and the workpieces. It ensures the formation of a perfect weld.
- Moreover, add the right amount of weld metal deposited at the joint. Too much weld metal can deteriorate the weld.
TTo master practical skills for different welding positions and minimize material waste, efficient pre-treatment and precise wire feeding are crucial. The Baison multi-functional laser welder supports versatile applications, allowing operators to switch to laser cleaning mode with one click to quickly remove rust and oxide layers from grooves before tackling complex welding positions, completely eliminating the tedious process of traditional angle grinder grinding.
During high-frequency swing welding in challenging welding positions such as vertical or overhead welding, Baison’s fully digital automatic wire feeding system utilizes intelligent torque sensing and adaptive tension adjustment to ensure the wire is smoothly fed into the micro-molten pool at a precise angle and constant speed, effectively preventing wire jamming or breakage caused by changes in torch posture.
This closed-loop process control, combining pre-welding cleaning with omnidirectional intelligent wire feeding, not only significantly lowers the operational threshold for novices but also ensures the equipment achieves all-weather, standardized, high-quality welding in any welding position.
FAQs
1.How does Baison laser welder ensure one-time seam shaping in all welding positions?
With intelligent “Novice Mode” and high-frequency swing torch temperature control, it overcomes gravity sagging, ensuring beautiful, grinding-free welds in vertical and overhead welding positions.
2.Does the equipment support automation for 5G/6G pipe welding positions?
Yes. For 5G and 6G pipe welding positions, it seamlessly integrates with precision chuck automation tooling, converting high-threshold all-position welding into standardized operations.
3.What are the common errors when adjusting parameters for aluminum and stainless steel across different welding positions?
Using identical parameters, which causes aluminum to burn through in vertical and overhead welding positions. Dedicated process packages must be used to control heat input, suppressing spatter and ensuring quality shaping.
4.How does the wire feeder prevent jamming when changing postures across welding positions?
During frequent posture changes, Baison’s wire feeding system utilizes intelligent torque sensing and adaptive tension adjustment to ensure smooth feeding, resolving wire jamming in spatial welding positions.
5.How does the all-in-one cleaning mode improve quality in challenging welding positions?
Before welding in challenging welding positions, a one-click switch to laser cleaning quickly removes groove oxide layers, eliminating traditional grinding and eradicating welding defects from the root.
Conclusion
Welding positions are imperative for creating strong structures and durable products. You can pick the right welding position for welding your product with the knowledge of various welding positions. Don’t forget to analyze your workpieces before employing a welding position.
Moreover, be aware of the hot molten metals and create a safe workplace for creating welds. Furthermore, you can employ laser welding to create the weld effectively.
Create Welding Positions with Baison Laser!
Struggling with complex welding positions like vertical, overhead, or 5G/6G pipe joints? Baison offers custom automation tooling and digital process packages tailored for any welding position. Baison Laser provides high-end laser welding, cutting, marking, and cleaning machines.